


How To
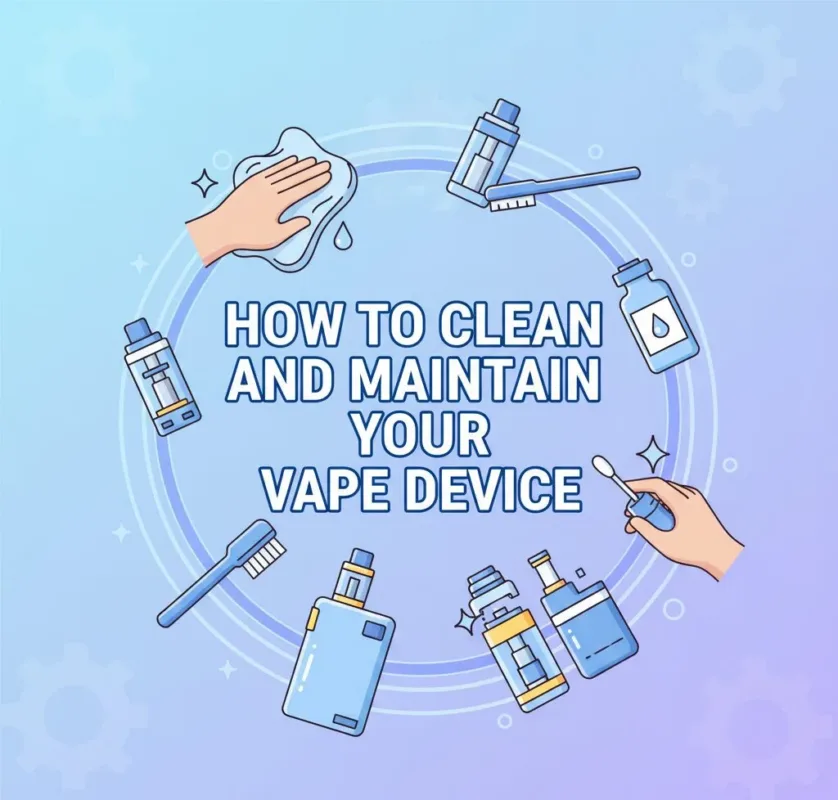
How To Clean and Maintain Your Vape Device
Nov
Why Cleaning Your Vape Is Essential
Vaping offers a cleaner alternative to smoking, but your device won’t stay clean on its own. Over time, residue from e-liquid can build up inside your vape tank, pod, or coil, leading to gunky performance and a burnt or tainted taste. A dirty vape can also shorten the life of your coils and batteries, causing premature replacements. Regular cleaning ensures your vape delivers consistent flavour, prevents hardware failure, and keeps you vaping safely and smoothly.
Whether you’re a casual vaper or a daily enthusiast, learning how to clean and maintain your vape device is essential to extend its lifespan and enhance your overall experience.
Understanding Your Vape: Key Components That Need Attention
Vape devices are made of several parts, each with different cleaning needs. Let’s break them down:
Tanks
This is where your e-liquid and coil lives. Over time, leftover juice or residue can affect flavour or gunk up the internal components.
Coils and Pods
The coil heats your e-liquid and converts it into vapour. Pods may have built-in coils or use replaceable coils. Burnt or dirty pods lead to poor vapour and flavour. Don’t get your coil wet if you are still planning on using it as it can ruin your coil.
Battery Terminals and Charging Ports
These power your device. Dust or sticky liquid can disrupt electrical connections and even pose safety risks.
Understanding what each part does helps you clean them properly and avoid costly damage.
How Often Should You Clean Your Vape?
How frequently you clean your vape depends on how often you use it and the type of device:
| Part | Cleaning Frequency |
| Tank | Every 1-2 weeks or when changing coil |
| Pods | Replace or rinse every 1-2 weeks |
| Battery Terminals | Weekly |
| Mouthpiece/Drip Tip | Every few days |
Vape maintenance isn’t a one-time thing—it’s a habit. Sticking to a schedule ensures better performance and a smoother hit.
Step-by-Step: How to Clean Your Vape Tank Properly
Disassembling the Tank
- Remove the tank or pod from your mod.
- Unscrew and detach all parts: mouthpiece, glass tube, coil (if not attached to pod).
- Dispose of any leftover e-liquid.
Use a soft towel to catch drips and avoid mess during disassembly.
Rinsing and Drying: Preventing Burnt Coil Flavour
- Rinse all parts with warm water. Avoid using soap.
- For stubborn residue, soak in warm water for around 10-20 minuets.
- Air-dry completely—don’t use a hairdryer or heat source as that can warp or damage your tank.
Failing to clean the tank can cause leftover flavours or burnt coils to ruin new e-liquid. Proper cleaning maintains taste and prevents coil damage.
How to Clean or Replace Coils and Pods
Signs It’s Time to Replace
- Burnt or metallic taste
- Weak vapour production
- Gurgling sounds
- E-liquid discolouration
Note: Most prebuilt coils aren’t designed for reuse and should be replaced when performance dips.
Wiping Down Battery Terminals and Charging Ports
Tools You Can Use
- Cotton swabs
- Soft microfibre cloth
Avoiding Short Circuits and Connection Issues
Gently clean terminals and USB ports weekly to remove lint or e-liquid. Don’t let liquid seep into the device. Keeping these areas clean prevents charging problems and device malfunctions.
Best Practices for Storing Your Vape Device
- Keep it upright to avoid leaks.
- Store at room temperature—extreme heat or cold can damage batteries, as well as cause leaking and spitting problems.
- Use a vape case or pouch to protect from dust and falls.
- Remove batteries from mods if not in use where possible.
Proper storage extends the life of your vape and keeps it ready for when you are.
When to Replace Worn or Damaged Parts
If you notice cracks in the tank glass, frayed wires, weak battery life, or leaking issues, it’s time to swap those parts out. Using damaged components not only ruins your vape but can be hazardous.
Quick Vape Maintenance Checklist
Daily Tasks
- Wipe the mouthpiece
- Check for leaks or residue
Weekly Tasks
- Rinse the tank
- Clean battery terminals
- Inspect coils and pods and replace if necessary
Monthly Tasks
- Deep-clean the tank and coil (if reusable)
Following this routine helps your device run like new every time.
Conclusion: Keep Your Vape Performing Like New
Keeping your vape device clean isn’t just about taste—it’s about safety, longevity, and performance. Regular maintenance avoids burnt coils, flavour issues, and connection problems. A clean vape is a happy vape.
❓ Frequently Asked Questions (FAQs)
1. Can I clean a coil instead of replacing it?
no, unless it is a rebuildable coil in which case you can clean it by removing the cotton then rinsing under water then dry burning it to remove excess water.
2. Why does my vape taste burnt even after cleaning?
Your coil may be too damaged. Cleaning won’t help a fully burnt coil. Replace it for better flavour.
3. How do I clean a pod system?
Empty it, rinse the pod with warm water (if refillable), and let it dry completely. Some pods are not designed to be cleaned and should be replaced.
4. What happens if I don’t clean my vape?
Your device can clog, produce a burnt taste, and overheat. Eventually, it could fail entirely.
5. Can I use vinegar or soap to clean my tank?
Most of the time soap or vinegar isn’t necessary just soaking it in warm water is all that’s needed. Soap, specially scented soap, can actually ruin your tank and give it a funny aftertaste.
6. How do I dry my vape tank faster?Let it air-dry upside down on a paper towel. Avoid heat sources, which can warp parts.
Any other queries feel free to ask at Vapourium.